

|
| |||
| |||
Navigation -Home -Search -News -Portal Site Account -Login -Register -Online Users Forums -General Forum -Tech Forum -News Archives -Cars Files -Overview E21 -About -Parts -Funstuff -Classifieds -Links -Projects Features -Unified -Hosting -Personal -Vin-checker -Events Registry -Index -Thumbnails |
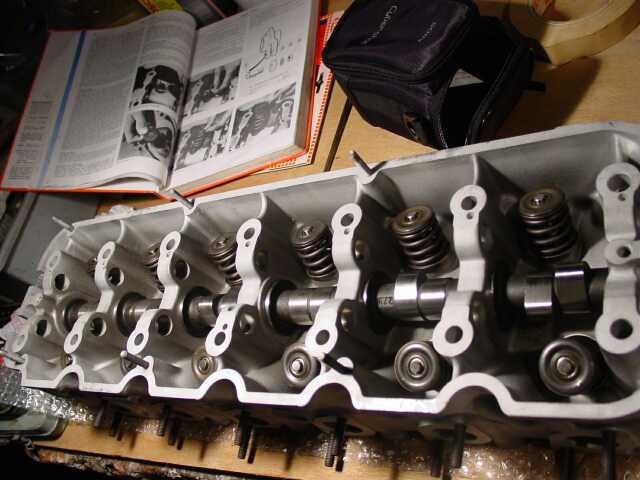
Rebuilding the headPage 1: Rebuilding the 320/6 engineSo I had found a spare head I could probably use to revive my engine. But it needed proper rebuilding first. Dissasembly The cylinder head is probably the most complex part of the engine, with the valvetrain, camshaft, rockers, springs, eccentrics, etc. So it took a fair bit of common sense to dismantle it. In order to withdraw the rocker shafts, none of the six rockers can be pushed by a camshaft lobe. However, with a six cylinder, there is always at least one rocker in a various rocking stage, so I had to turn the camshaft, put a well-chosen rocker sideways so that it would not be pushed by the lobe if I turned the cam back. So after a while I had removed the twelve rockers and the two shafts with their retainers. The camshaft could be removed after removal of the sprocket with gasket, and the oil supply line on top of the camshaft. 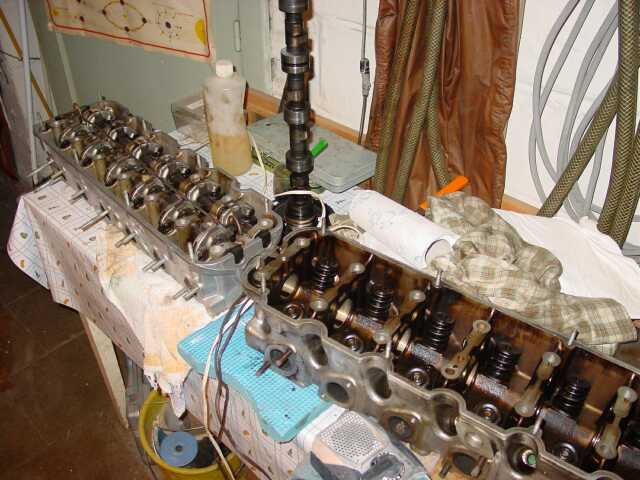
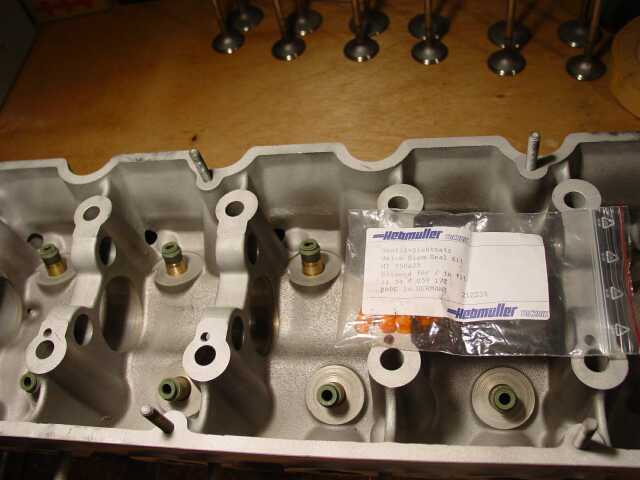
In order to remove the valves, a special valve compressor tool is required. Using the compressor, the conic retainer at the valve stem can be removed, after which the spring and it's plates and the valve can be removed. I didn't bother removing the worn valve seals, they had become so hard it was impossible to get rid of them properly. I figured the engine workshop would know what to do with them. I dismantled both heads because even though my own was cracked, the cam and valve components would still be in proper shape - they had barely run 100.000km (60K miles). Visit to the Engine Workshop I found a very good local address of a workshop rebuilding engines. So I went with both my cylinder heads to them and they told me that they would first perform a test for leaking, after which they could recondition the head if it was still good. My own head turned out to have a huge crack, but the other one was still fine so they cleaned it, fitted new valve guides, new valve seats (for unleaded fuel) and planed the under surface of the head. I got it back like it had never been used before! Check out the two heads next to each other when they came back from the workshop: 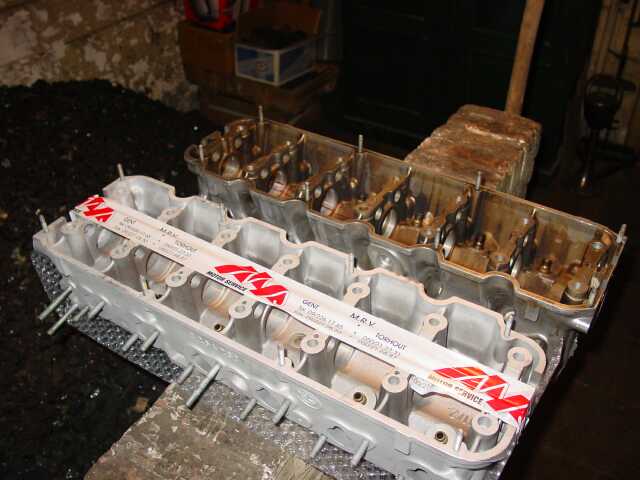
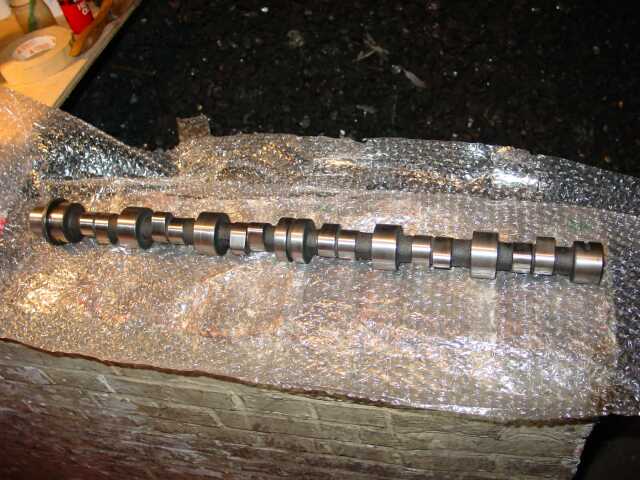
They also polished the camshaft and it came back good as new. Reassembly What a difference to work with clean parts! I could actually get away without washing hands after doing some work on the head! The workshop had cleaned my valves as well, so I could start the grinding job. I wrote in detail about that here. After the grinding, it was time to fit the new valve seals and reassemble everything using the spring compressor. This was actually the most fun part of the whole job: not only would I have a replacing head to repair the engine, but it would be good as new! 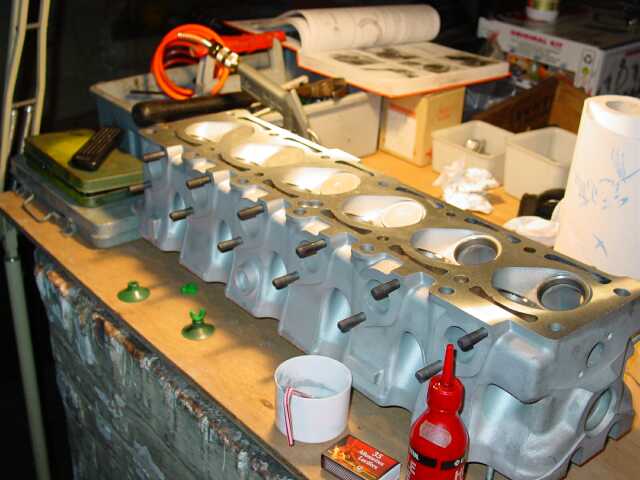
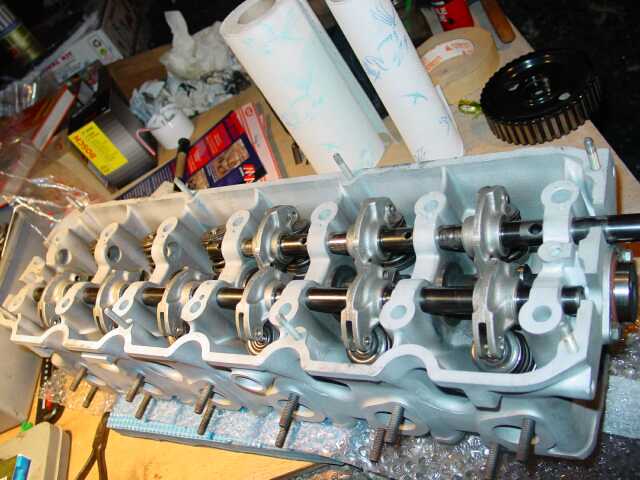
Now was a good time to set the valve clearances properly, so I did that before putting the head on the block. I've also written in detail about valve clearance settings here. Previous Page - Next Page |
Copyright © 2001-2005 e21.tricord.be. All rights reserved. Powered by Unified. |