

|
| |||
| |||
Navigation -Home -Search -News -Portal Site Account -Login -Register -Online Users Forums -General Forum -Tech Forum -News Archives -Cars Files -Overview E21 -About -Parts -Funstuff -Classifieds -Links -Projects Features -Unified -Hosting -Personal -Vin-checker -Events Registry -Index -Thumbnails |
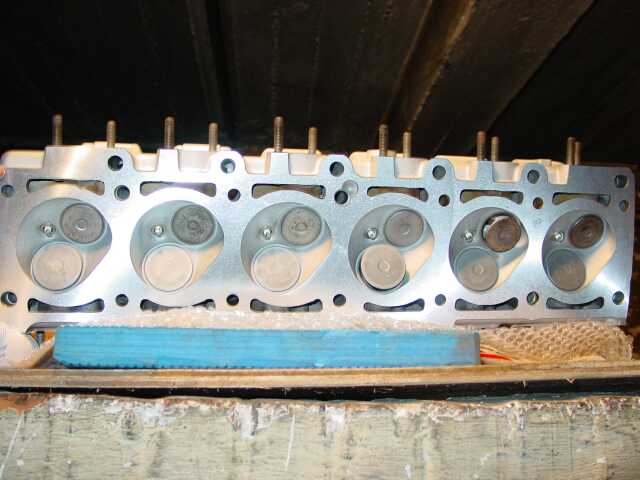
Putting everything back togetherPage 1: Rebuilding the 320/6 engineSo now I had all I needed to put everything together. A clean new head, and all other parts neatly organised into plastic bags. Let the reassembly begin! Cleaning the block Of course, with such a nice head it wouldn't do with a dirty greasy block. On a sunny day, I took a hose to it and flushed the coolant as well as the oil cavities in the block. I managed to remove a fair bit of goo from the coolant circuit, which is a good thing. When I was absolutely sure the block was clean inside as well as outside, I let it dry in sunny weather for a couple of days, to be sure all water had evaporated. After that, I cleaned the block surface and the pistons from their carbon deposits. That took a fair bit of sandpapering and patience, but the results are quite nice. The pistons and bores were now as clean as the combustion chambers. 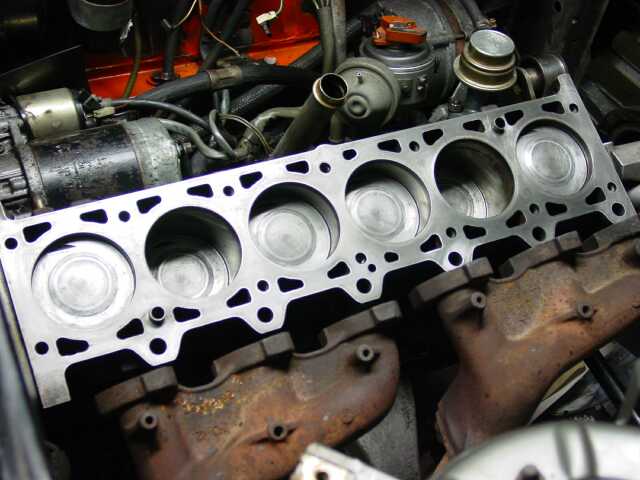
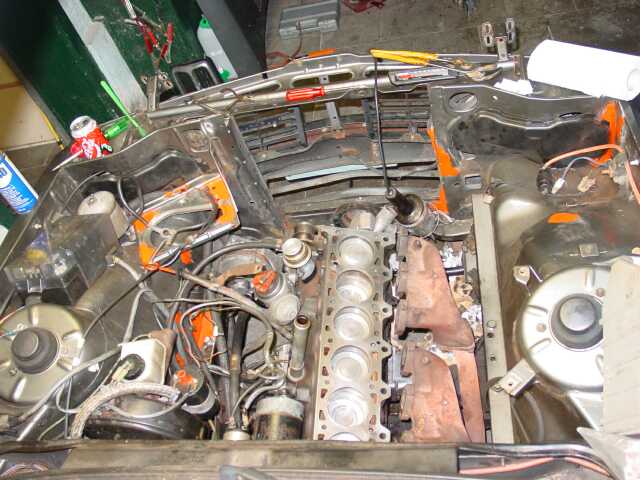
Rebuilding the motor Finally the supreme moment! Everything required was neatly stacked on a table nearby, everything was clean and there was no reason why this wouldn't work. I started with the power steering pump and the alternator since I had enough free space to move about easily in that area. Once everything installed, I fitted a brand new head gasket and seated the head. I got some advice to dip the head bolts in a bit of copper grease before inserting them, and torqued them in three stages to specification. After that came the intake manifold, and the exhaust (which I had just left in there), as well as the thermostat housing. 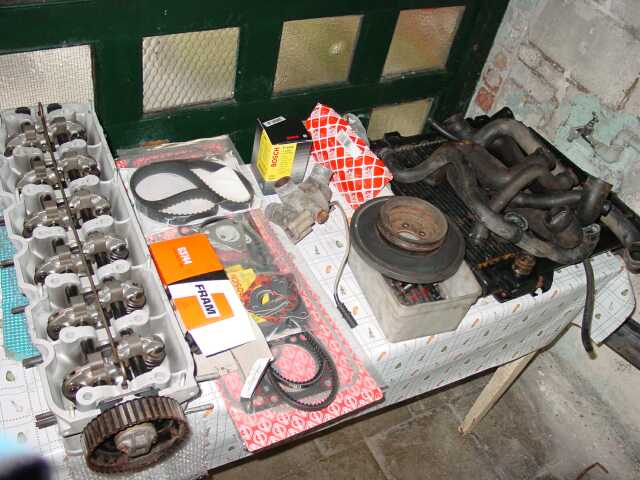


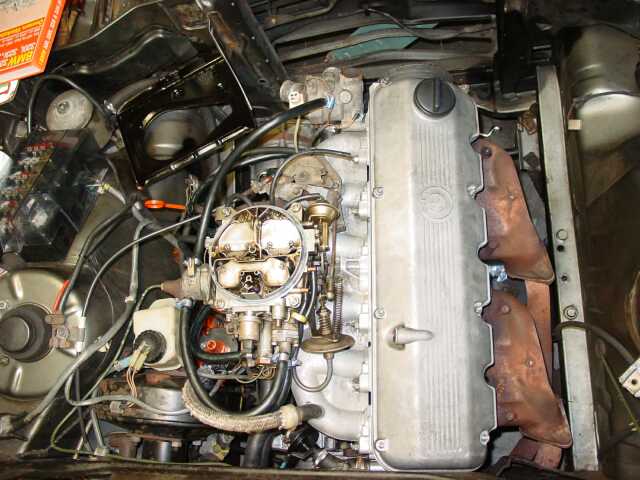
That is starting to shape up, isn't it? Now came the most tricky part: the carburettor. Lucky for me, I had taken pictures before I removed it, so that I could easily identify all wires and hoses. If I hadn't, it would probably have taken some guesswork and frustration to get it done. It was also time to fit the coolant hoses and the timing belt. Since the power steering pump has it's own belt, I fitted a new belt there as well. The brake vaccuum booster was easily reconnected to the intake manifold, since I never had done anything to the brake system. 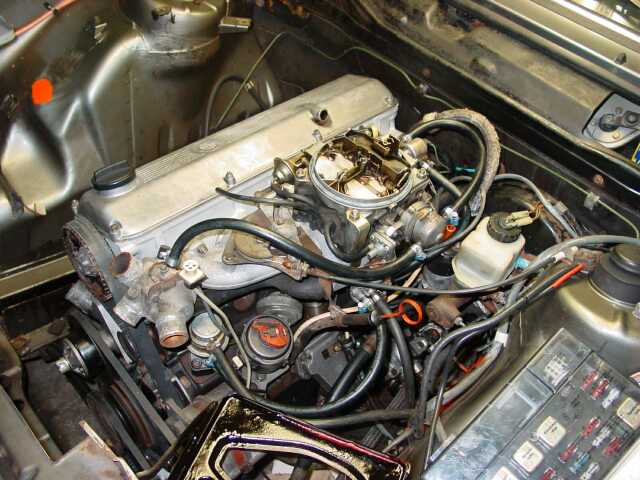
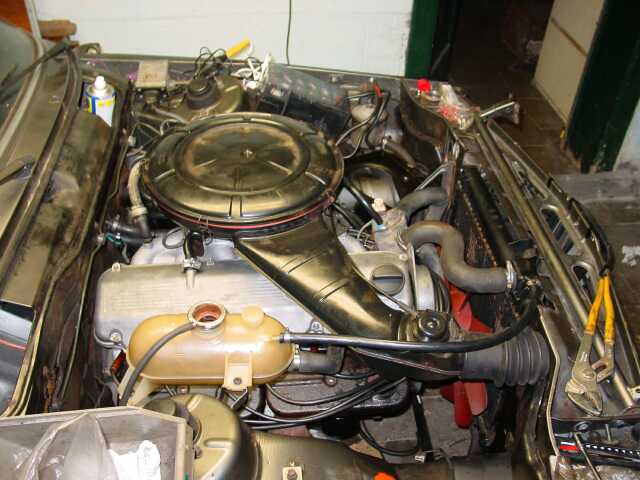
Almost done now. It's time to put the radiator in there and the coolant expansion tank. I also fitted the distributor cap and the HT leads to the spark plugs. The fan also had to be fixed on its axle. At this point, Murphy's law struck me. Not having removed the fan myself (it was done by our mechanic friend) I didn't realise it had to be secured with a screw. I found a click-in system and figured that was it. So when everything was together, and the engine had oil, water and fuel to operate, it started right away! However, after revving the engine to 1500rpm or so, the fan flew off its axle and hit the radiator in the process. I was lucky that the fan was allright, but the radiator was leaking. I was lucky to have a spare handy, and I replaced it in like ten minutes, in the thrill of the moment! After that I properly secured the fan and everything was allright. I had done it! I had my beloved car back! 
Previous Page |
Copyright © 2001-2005 e21.tricord.be. All rights reserved. Powered by Unified. |