| M42powered |
Posted
Wednesday, Oct 8th 5:14pm [Edit] [Quote] [IMS] [View car] |
Staff
Post nr. 754

Arizona, USA
1981 BMW 320i |
You European and six cylinder guys got it easy:
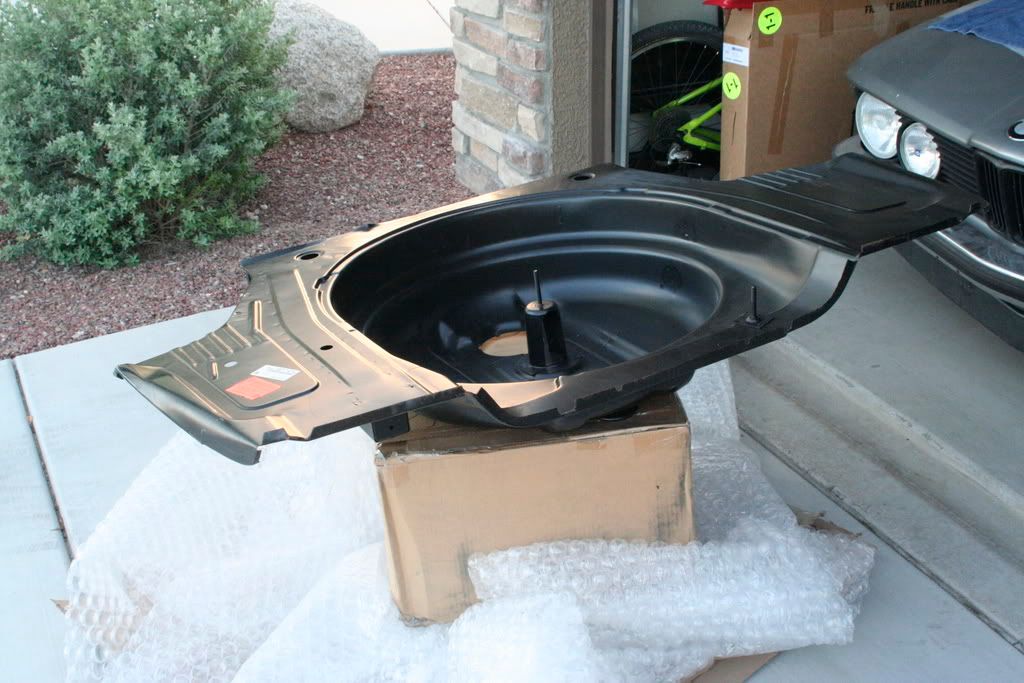
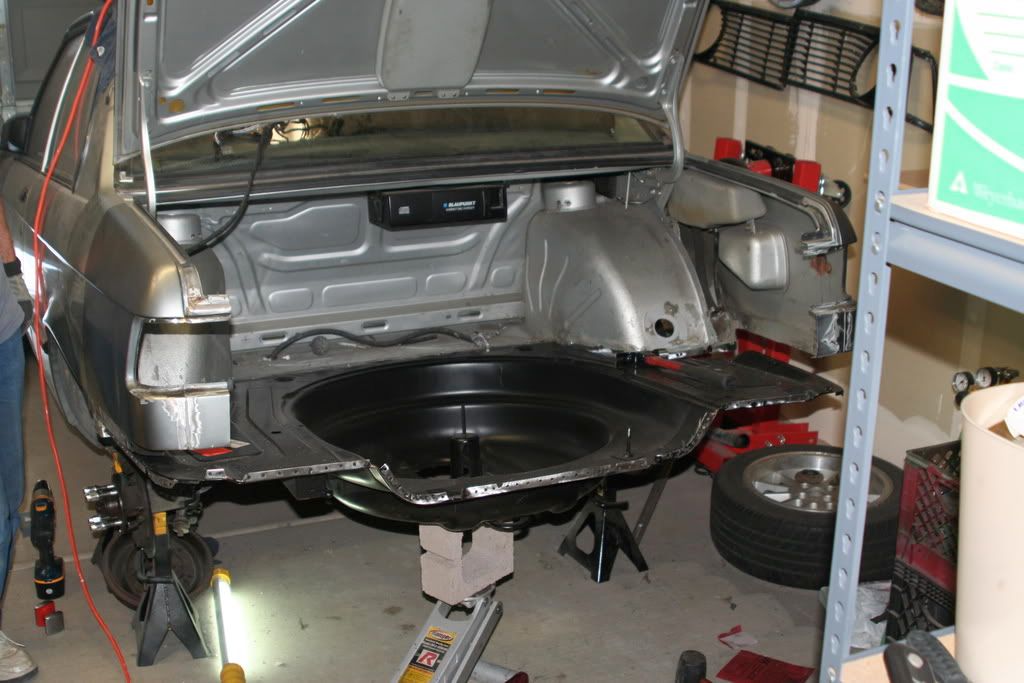
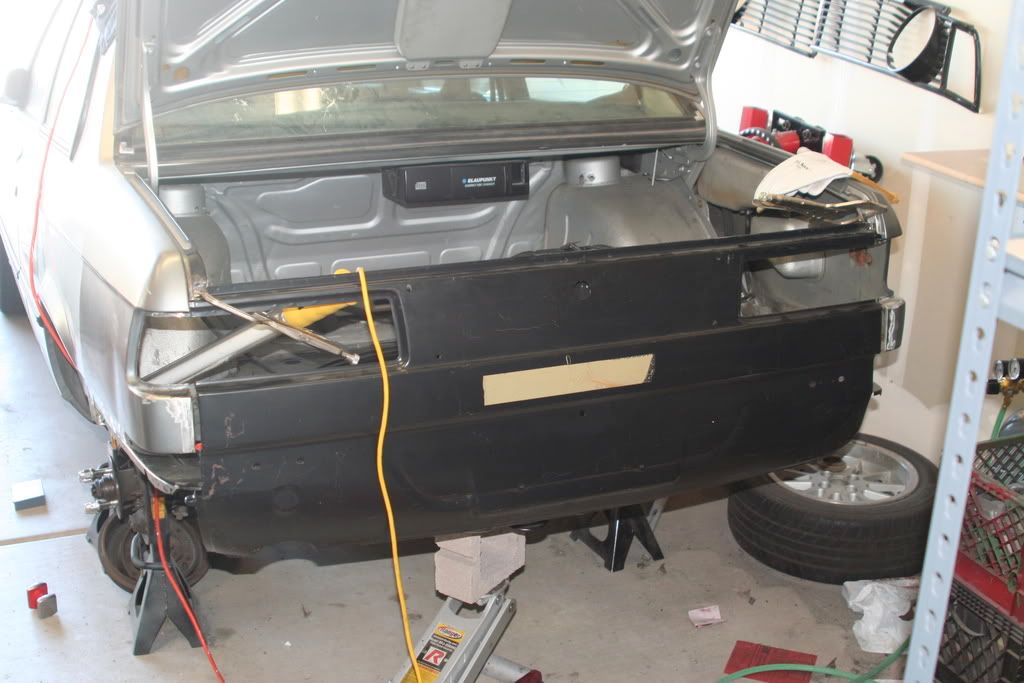
Hi, My name is Nic. Contrary to popular belief, I do own an E21, and here are photos to prove it.
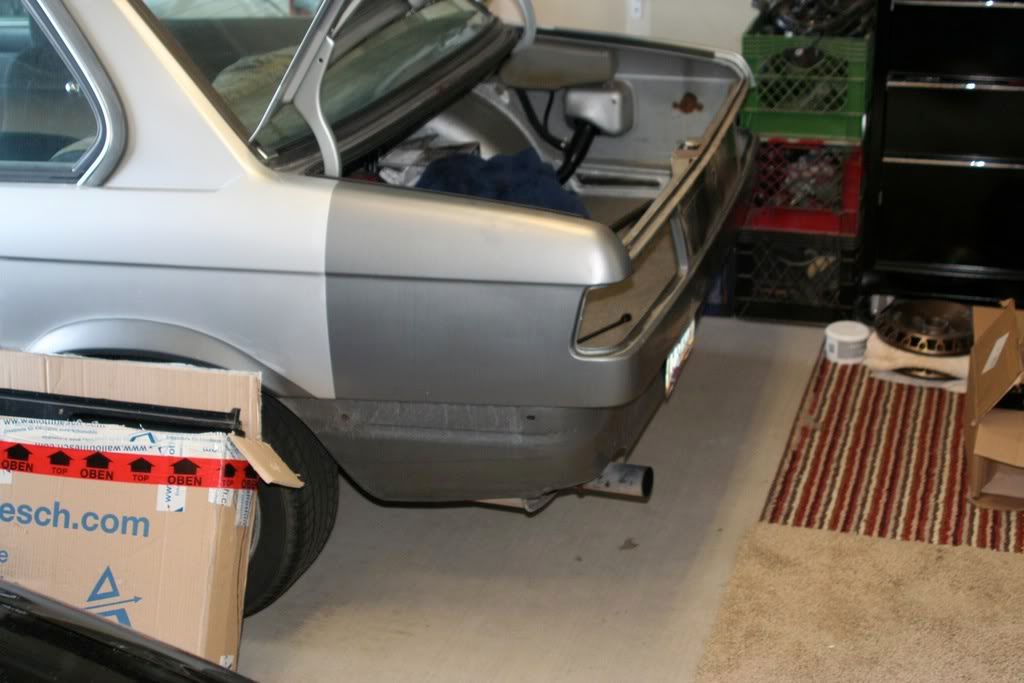
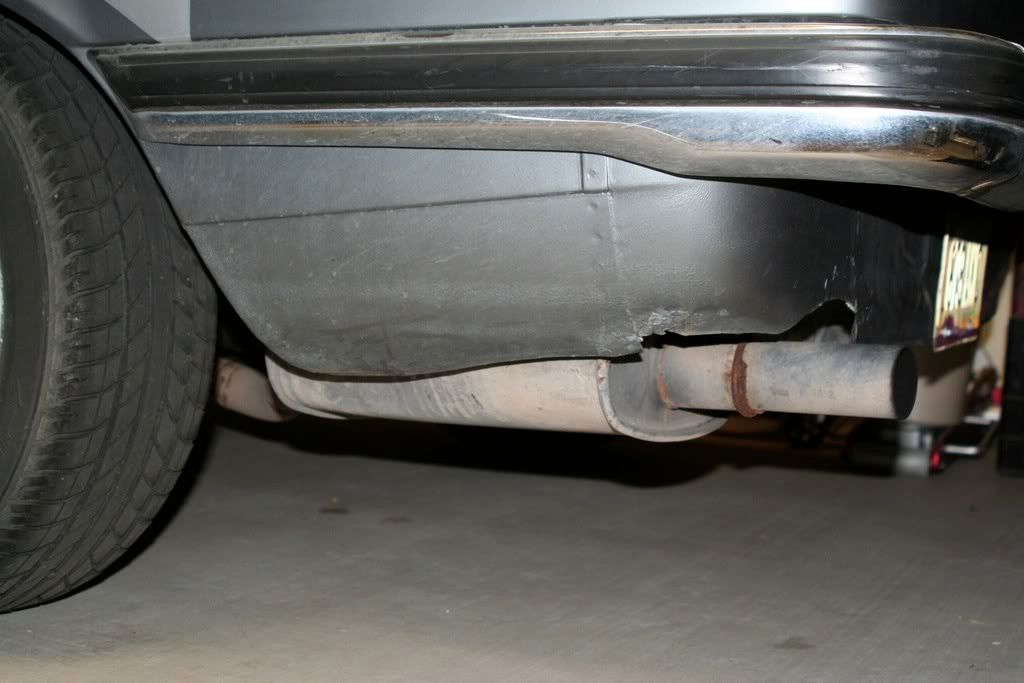
Notice that the car is buck toothed with the bumper off. I've had euro bumpers on my car for years now, but never really did the proper sheet work to make it fit nice and tight. Well now is the time.
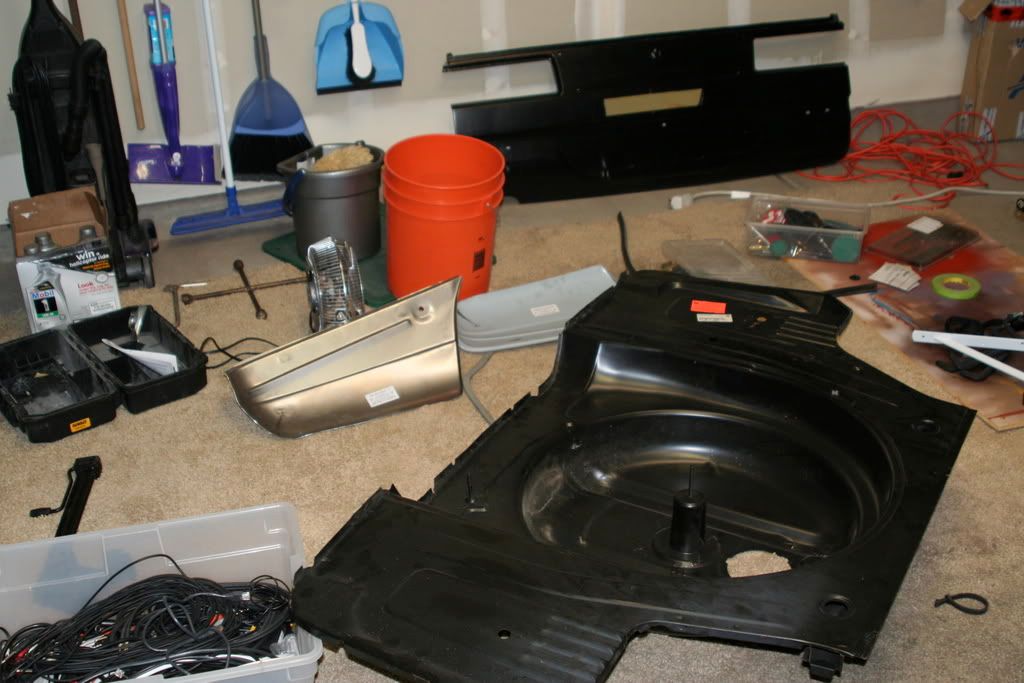
First off I bought the panels in stages. The rear valance (from a post 79 euro 4 cylinder car) and the two small lower valance sections were purchased from Walloth and Nesch about 5 months ago. All the panels are great, the two smaller ones I think are Walloth stampings, as I don't see BMW part numbers on them. The fitment is really nice and they give you plenty of extra material to massage it into the shape you need.
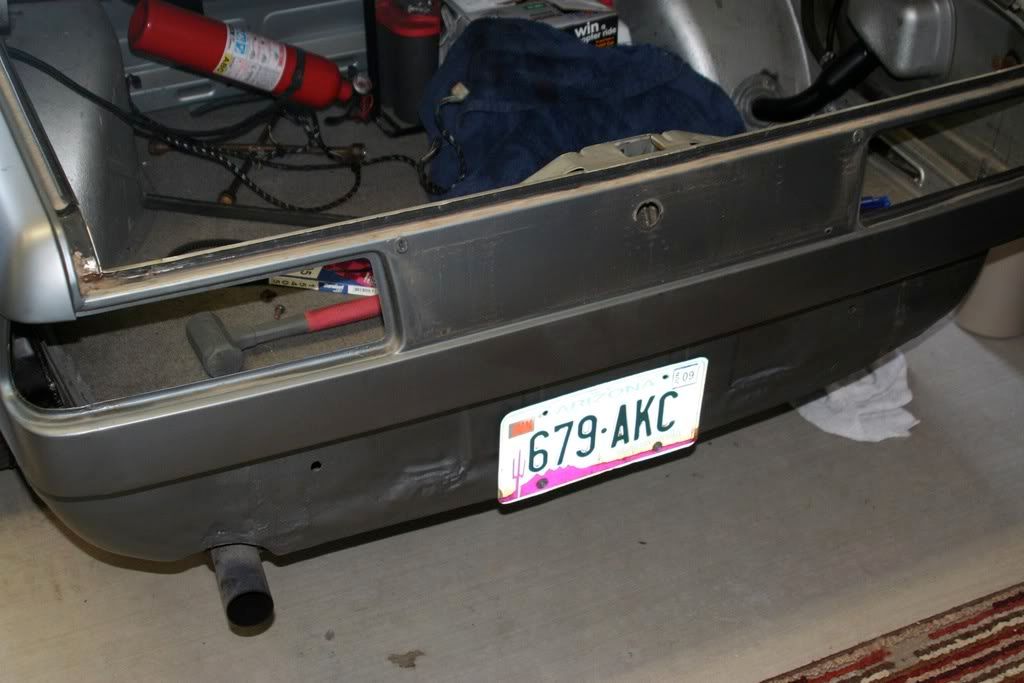
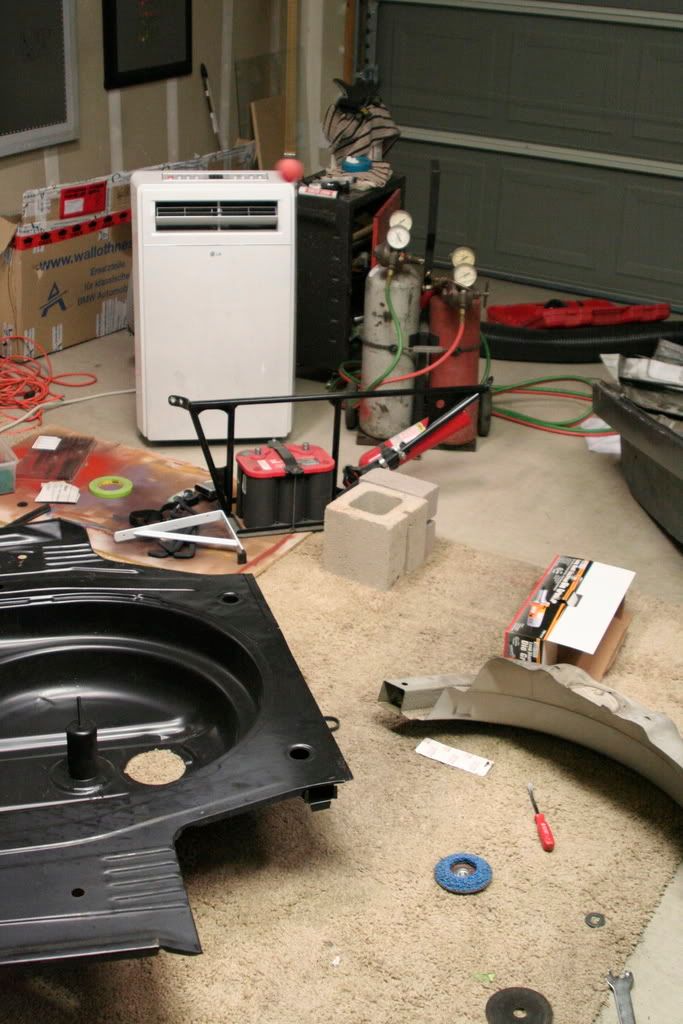
The trunk floor was purchased from a private seller. It was shipped and didn't fair to well.
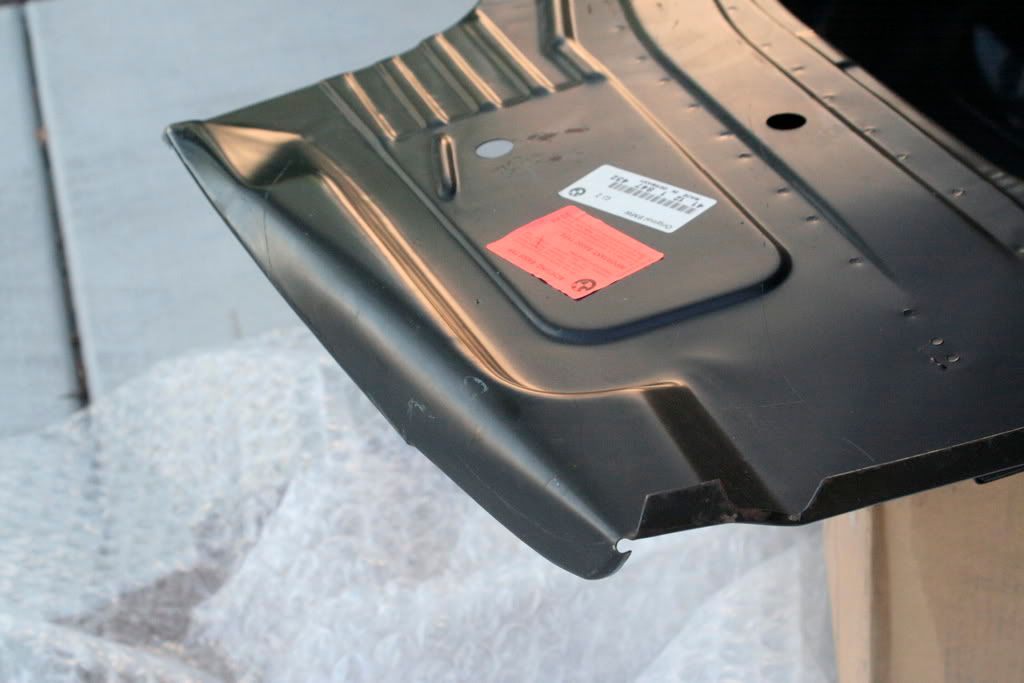
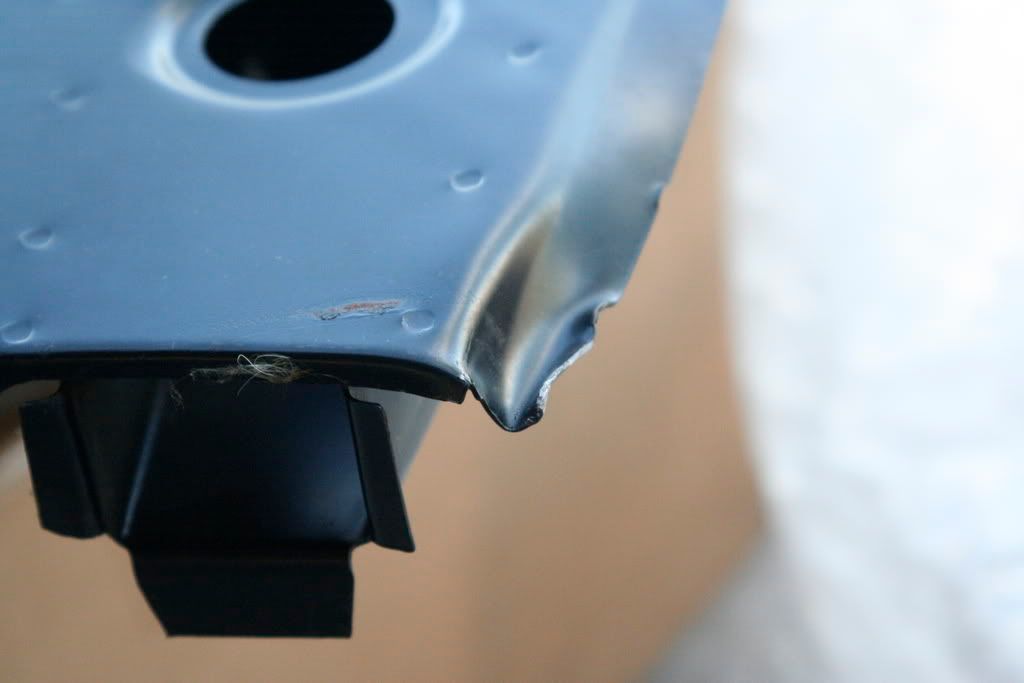
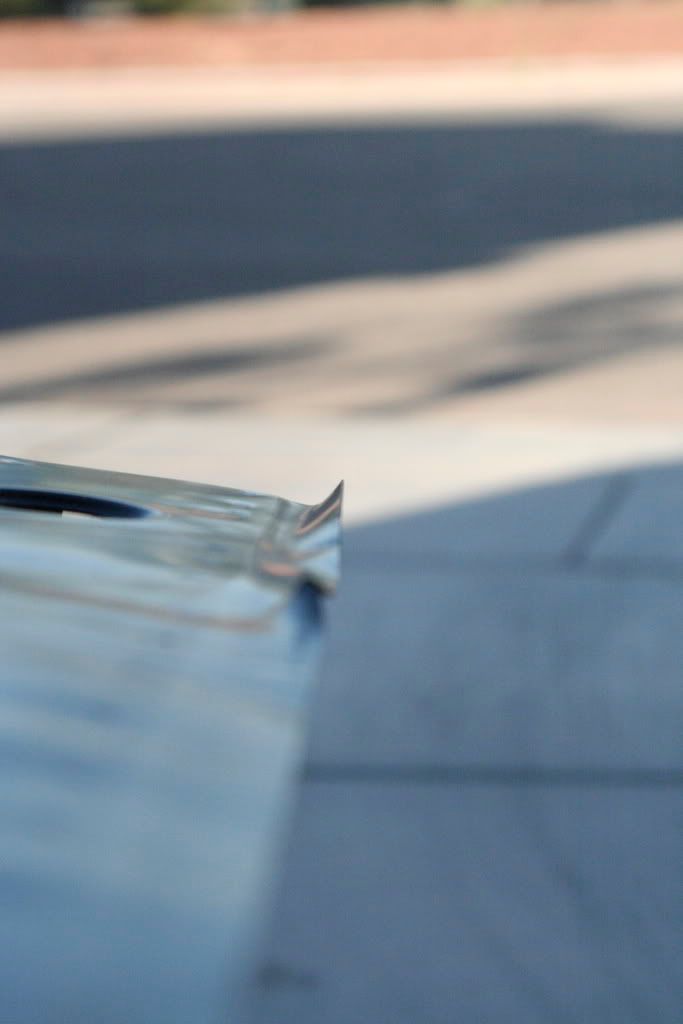
Sadly there was some damage in transport so I had to do some hammer and dolly work to get it back into shape. No big deal. That's all of them; 4 pieces of sheet.
|
 |
|
| M42powered |
Posted
Wednesday, Oct 8th 5:15pm [Edit] [Quote] [IMS] [View car] |
Staff
Post nr. 755
Arizona, USA
1981 BMW 320i |
As of today (Sunday) I am 3/4 of the way to attaching all the euro panels to the back of my car. Trunk floor, rear valance, and two side valance pieces. I've never done sheetmetal work before so I enlisted the help of my pops. He's knee deep into the complete frame off of his '59 Chevy Apache pickup, which up until this point has been all sheet work. Before you go telling me that they sell lower euro valance panels, and that all I would need to do is make a patch panel to take up the distance form the US trunk floor. I know. About 6 years ago in college I was rear ended that resulted in a Toyota Corolla sliding under my US bumper and dinging my spare tire well. So much that it punctured my spare. Back then I just took a 10lb sledge and beat it so I could get the tire back in it (my idea of sheet metal work). Since I had the opportunity and Ricky sold me his trunk floor for a good price it was time to fix the damage. (Ricky didn't pack, or ship the piece though, so don't harp on him for the damage).
Phase one: Remove old.
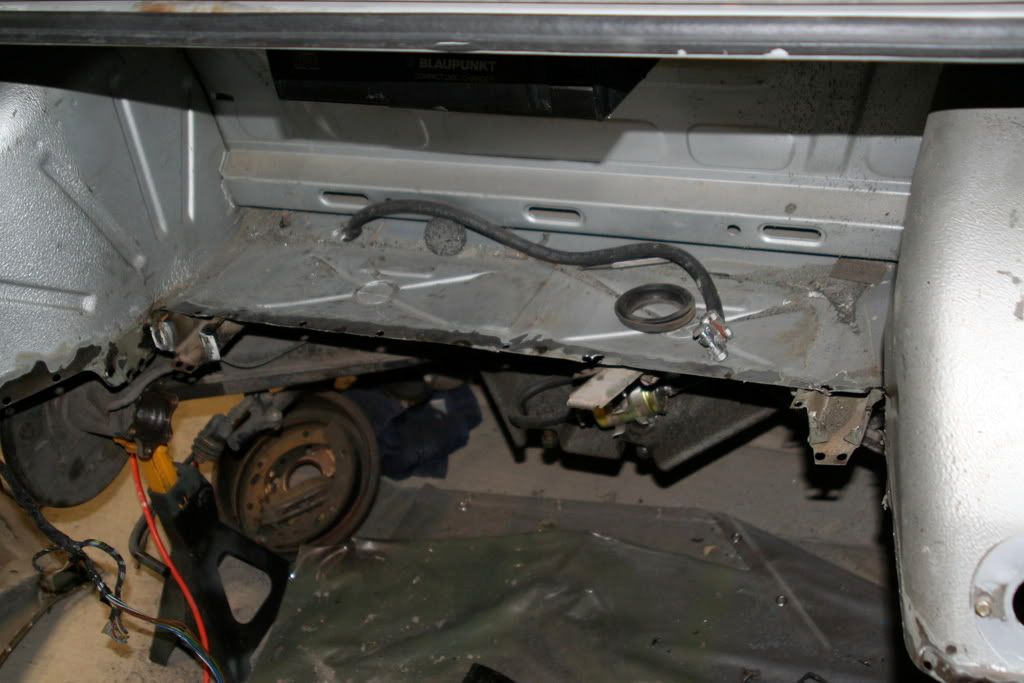
Done...
All it took was one of these:
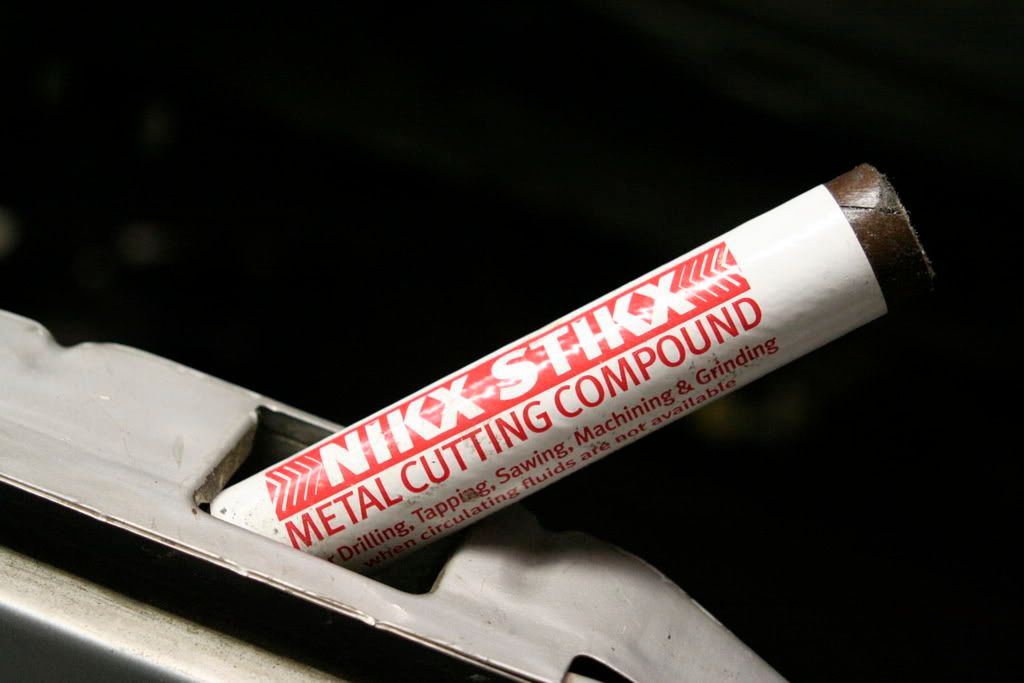
Actually it took just about every single tool I could squeeze in my garage. Sidenote. This was a GREAT time to undo suspension components. I had access to EVERYTHING.
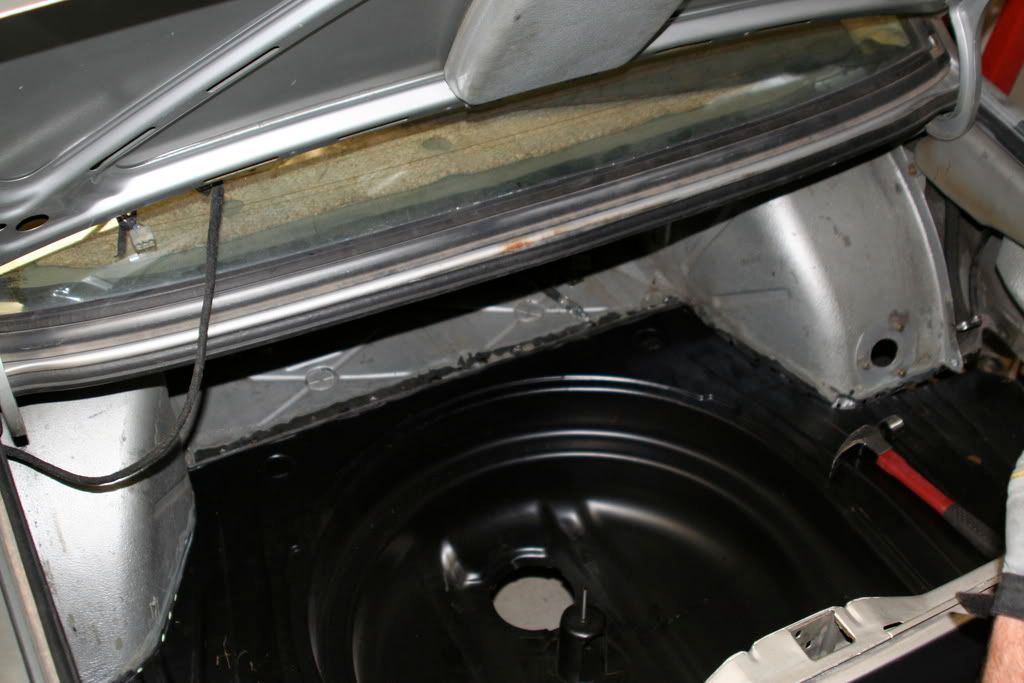
Had to find and drill all the spot welds that held the trunk floor in there (of which there were many). We took it out in sections and it ended up in a nice neat little pile.

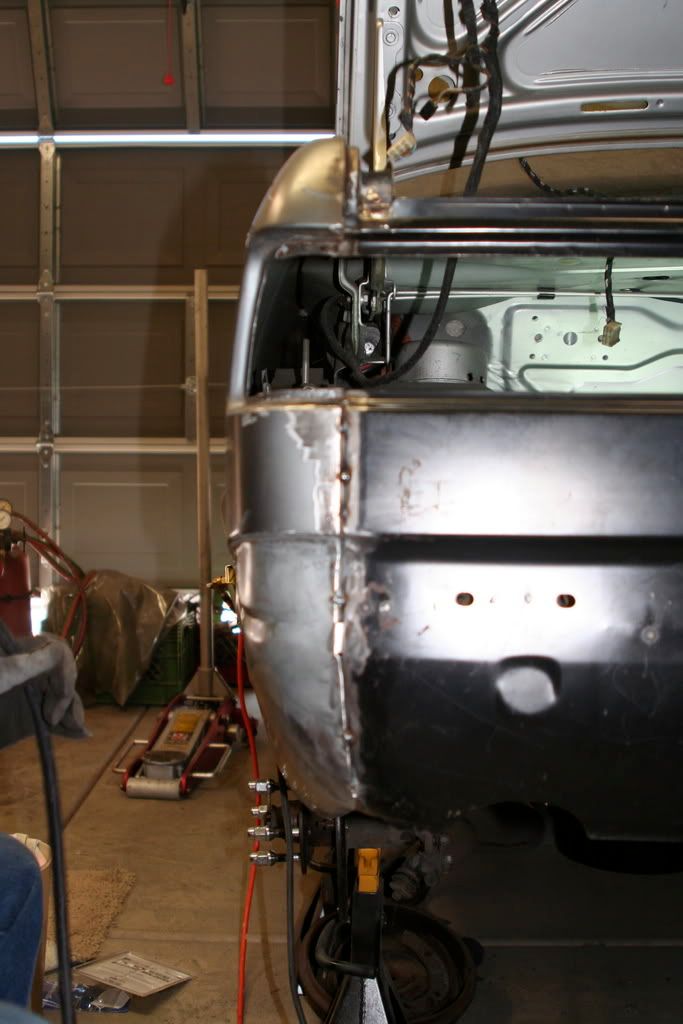
We were hesitant to cut the rear valance in half and leave the fenders hanging in air because we were afraid the car would tweak if we did. We really had no choice, and from what I could see in the factory manual they suggest almost cutting the entire back half of the car off we figured it would be ok. |
|
|
| M42powered |
Posted
Wednesday, Oct 8th 5:15pm [Edit] [Quote] [IMS] [View car] |
Staff
Post nr. 756
Arizona, USA
1981 BMW 320i |
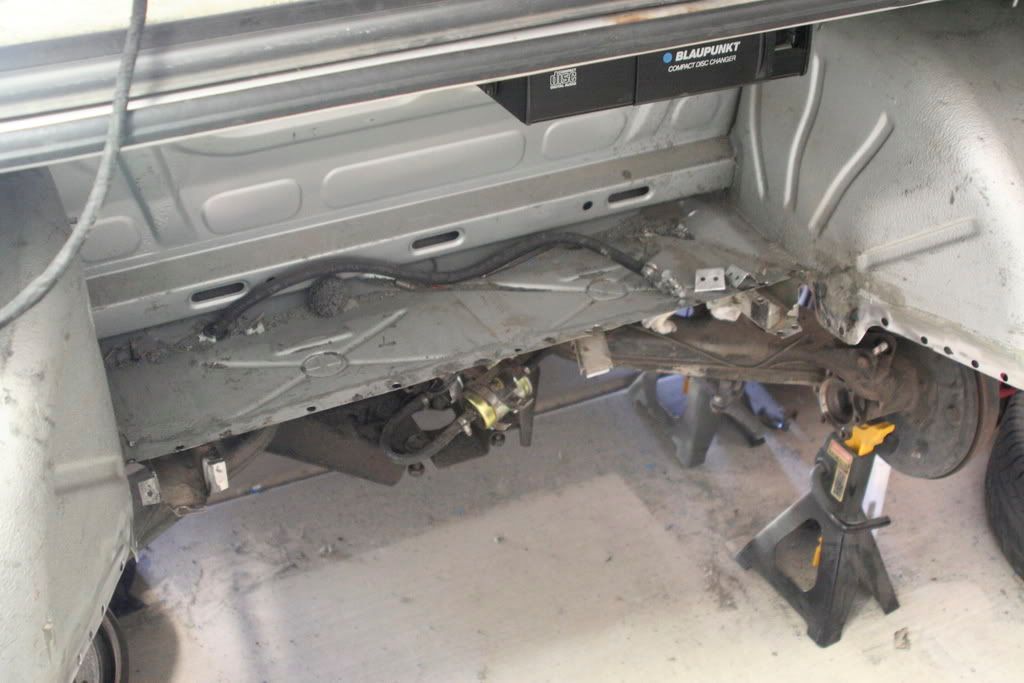
Phase two: Tack in new floor.
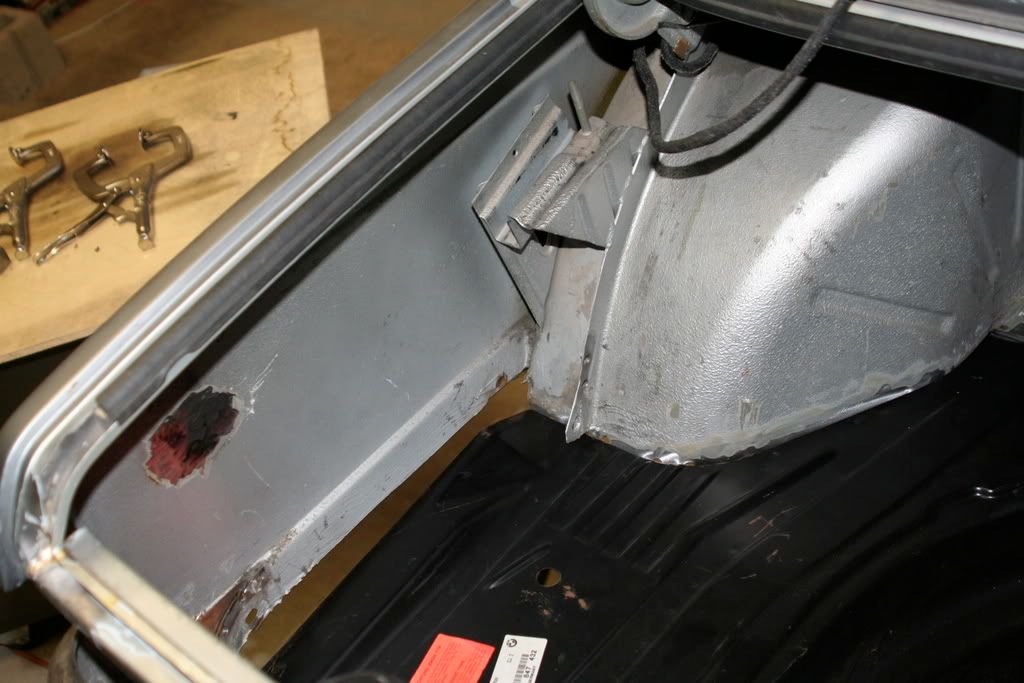
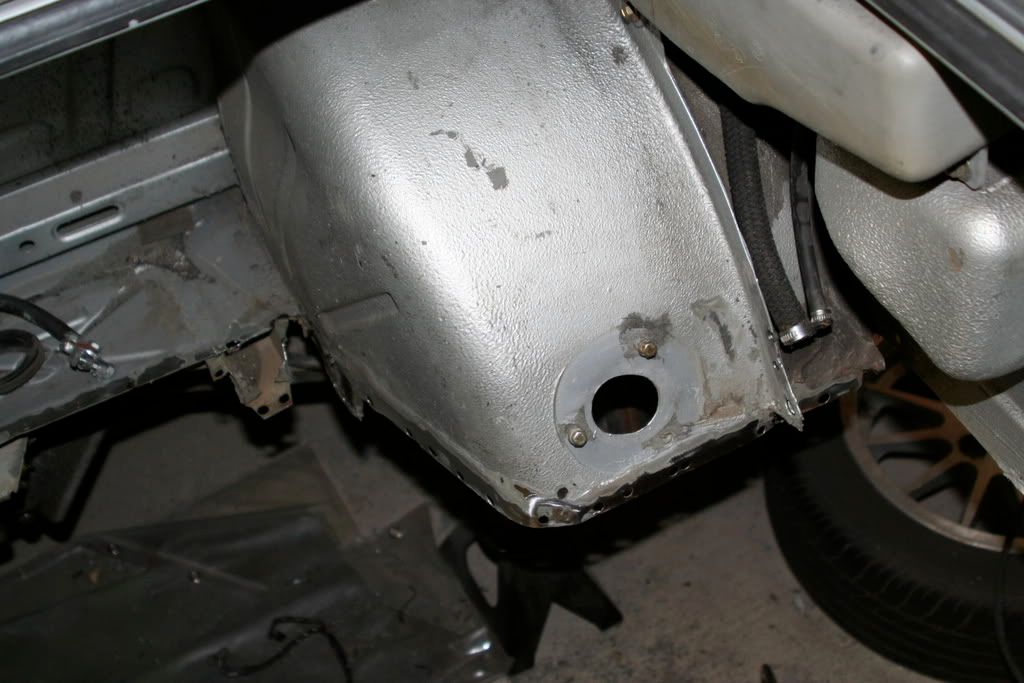
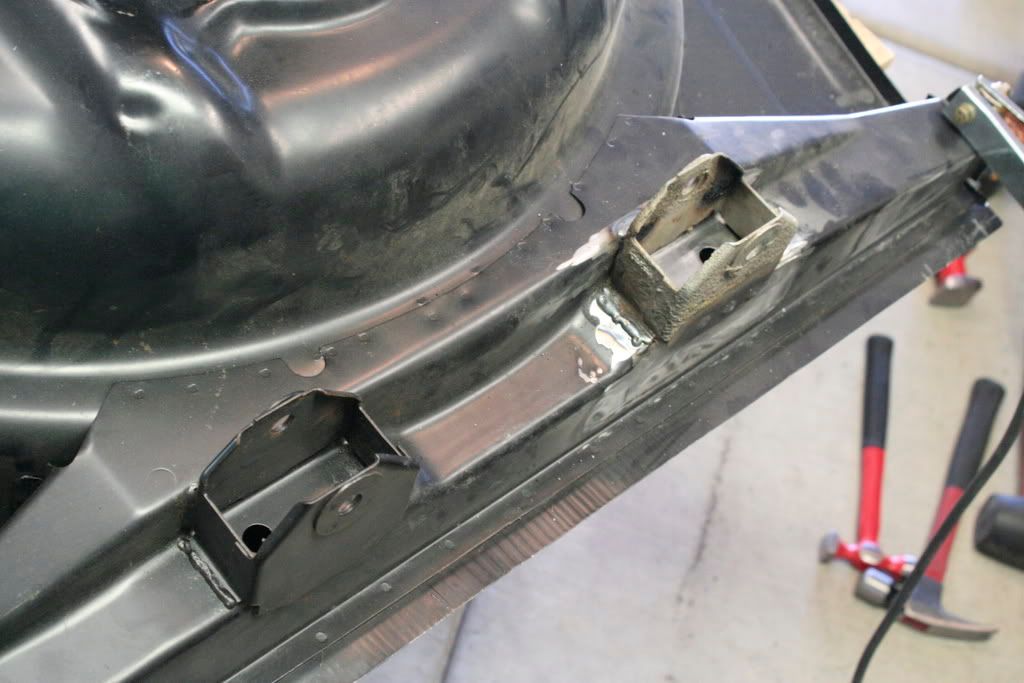
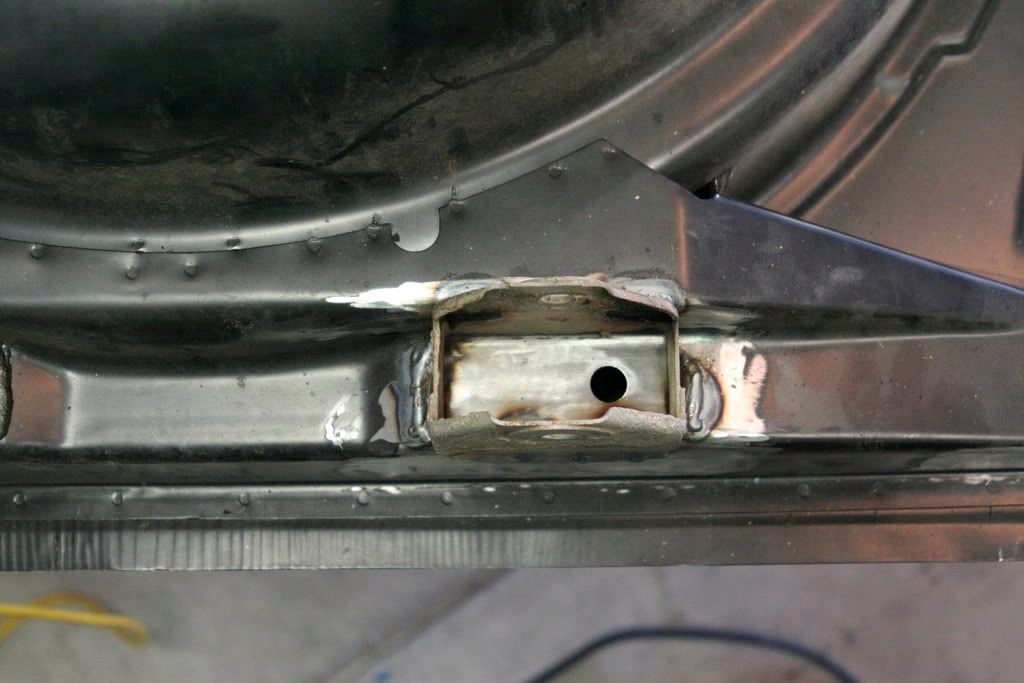
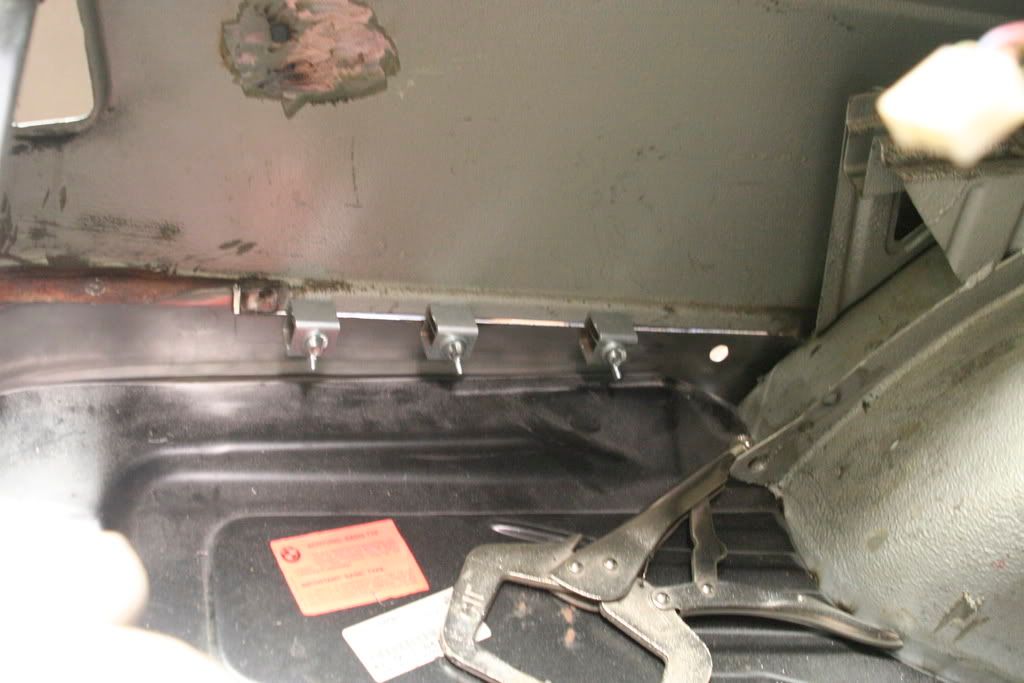
Once we removed the floor the chassis rails were exposed. They're actually spot welded to the trunk floor. Little did we know there were actually internal spot welds that I couldn't get to. We tore these. Don't worry, I fixed this when we put the new floor in. One side (drivers) the tabs were still intact, so we heated them up and folded them out and drilled them for plug welds. It didn't really make any sense to leave them inside the chassis rail as I couldn't re-weld them. The other side I made some angle pieces and drilled those on both sides for plug welds as well. These tabs is where the differential cross member rests.
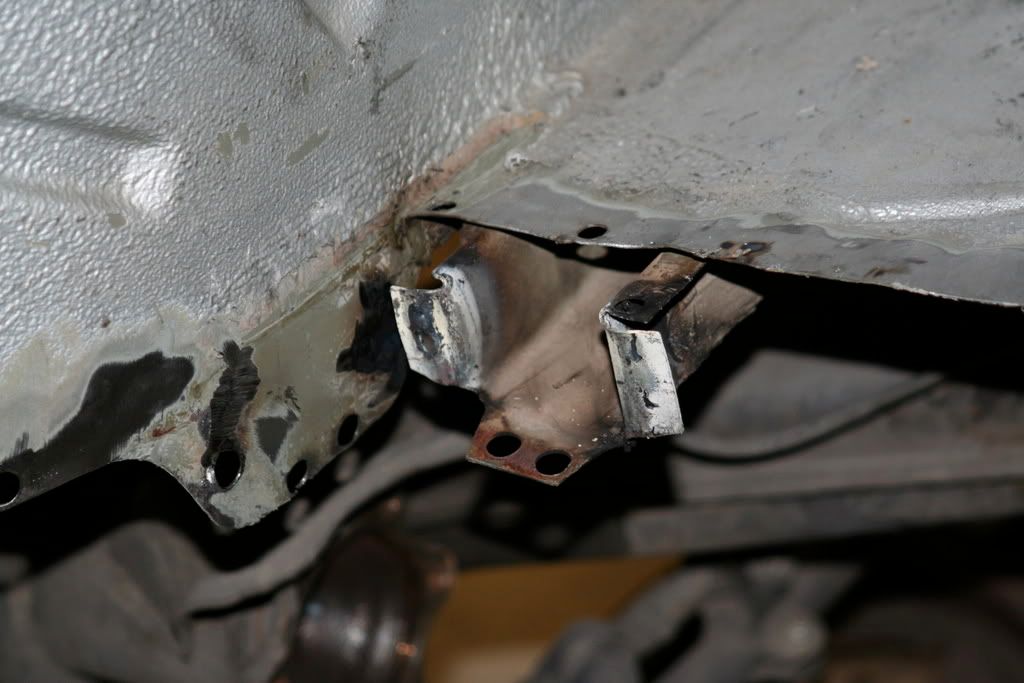
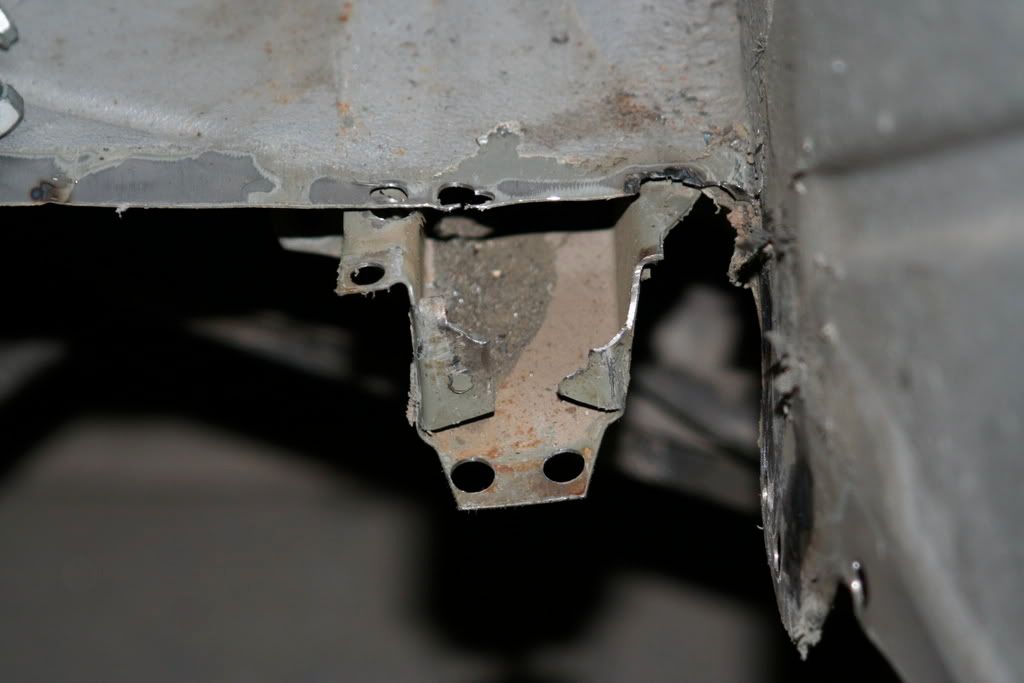
Trust me they're not bent. For some reason they are pitched like that for a reason.
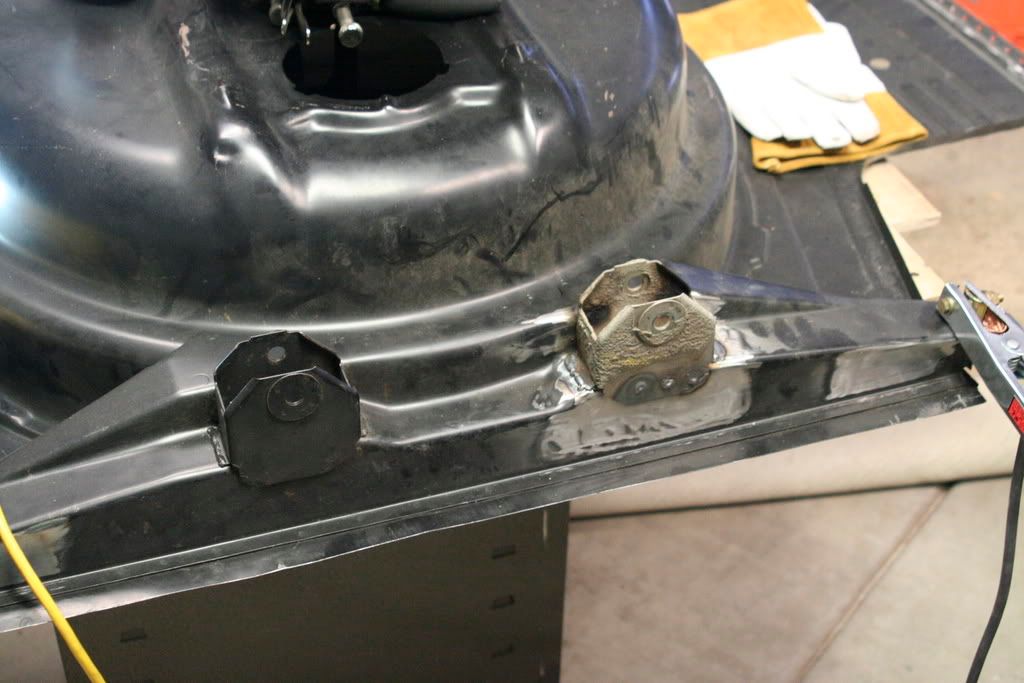
Speaking of differential cross member. I took the liberty, while the floor was off, to cut the old diff mount off the old floor and seam weld it to the new one. It will be a future project for me to make a second dogbone to attach the diff to without blowing the coin on an Alpina diff cover. I placed it similarly to the piece that is already there. I can accomidate any "imperfections" in the placement with the dogbone I'll make.
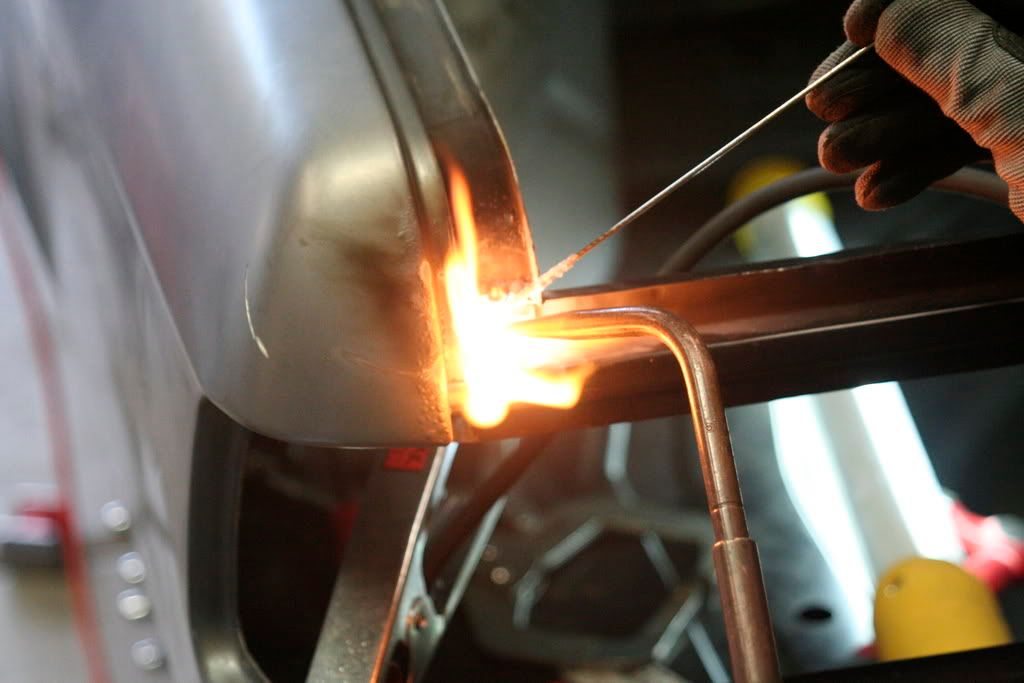
Anyway, back on topic. We slid the new floor in and I tacked it in place once we got the wheel wells close. I plug welded that diff cross member in and we set out on getting the rear valance in. The big problem is the connection between the rear valance and the fenders up at the trunk lid gasket. The joints are brazed from the factory. My pops and I figured we could just heat up the brazing and flow it out. The Oxy Acc setup couldn't melt it. We were stunned. Got the metal red hot and still couldn't get the stuff to flow. So we decided to do it the old fashioned way. The fenders were a little worse for wear, but we got the new piece fit in there. |
|
|
| M42powered |
Posted
Wednesday, Oct 8th 5:16pm [Edit] [Quote] [IMS] [View car] |
Staff
Post nr. 757
Arizona, USA
1981 BMW 320i |
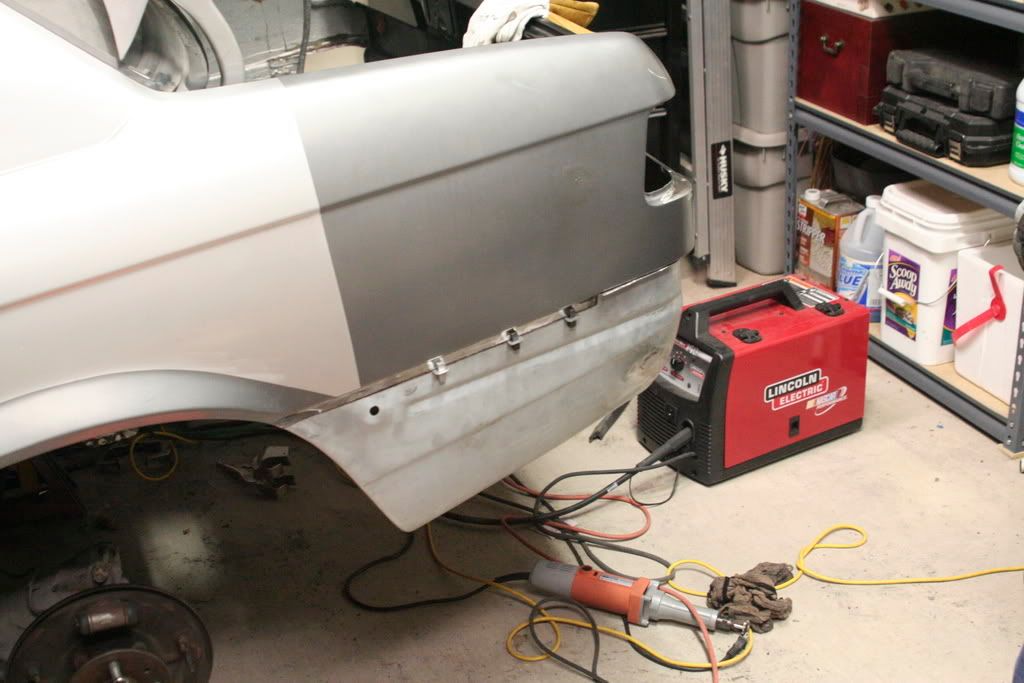
Phase three: Rear valance.
Then I let the man do his work. My dad does some old school stuff, like lead work and brazing so he had at it with a brass rod and filled in as much as we could of the joint. It needs some finishing work with a dremel, but it's good and tight now.
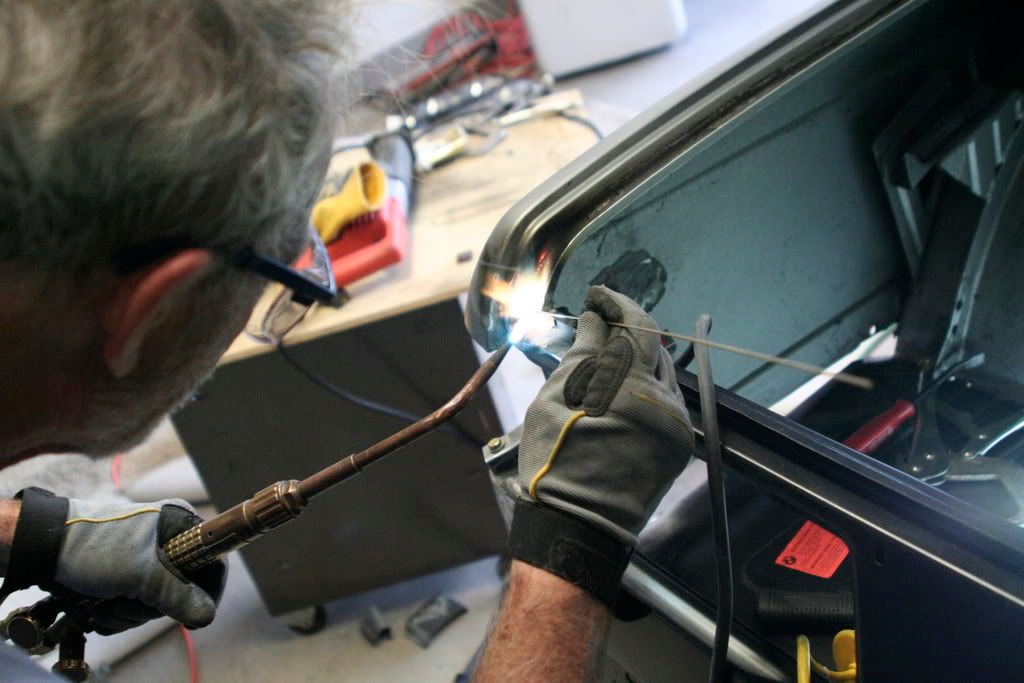
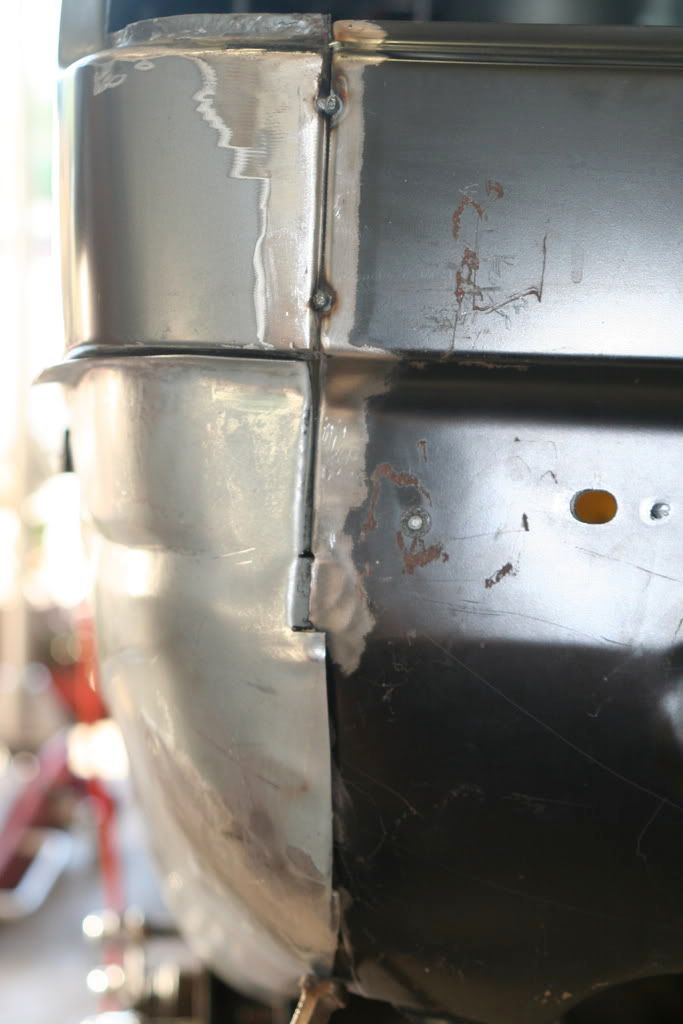
After the top was in we tacked the fender tabs over to the valance. This seam will be plainly visible, and usually you can see it on factory cars. I'm planning on stitch welding it flush, grinding it flat and smoothing it out so you can't see it. I think this is pretty common on cars that get re done. This area is fraught with rust, I guess my car was no different. It's all surface stuff, but I'll need to put a coat of POR-15 on it. |
|
|
| M42powered |
Posted
Wednesday, Oct 8th 5:16pm [Edit] [Quote] [IMS] [View car] |
Staff
Post nr. 758
Arizona, USA
1981 BMW 320i |
Phase four: Attach trunk floor to rear valance.
After getting things squared up I started plug welding all the holes I drilled in the new trunk floor. So now the car was starting to retake shape.
Phase five: Plug welding the wheel wells.
The wheel wells attach to like 4 different pieces of sheet metal. It was pretty easy to find the spot welds in there, and was just as easy to plug weld the wells to the new floor. Just clamp and weld, and move around cooling the welds as you go. I'll be grinding them flat and putting some undercoating on there.
Also, in the wheel wells is the end of the differential cross member. It too welds to the wheel wells, and I took car is plug welding this really well.
Phase six: Drivers side lower valance.
We worked for 3 hours or so on getting this piece to fit snug. Trimming it up right and getting it to nestle in there was difficult at best. We finally got it all tacked in and we called it quits for the weekend.
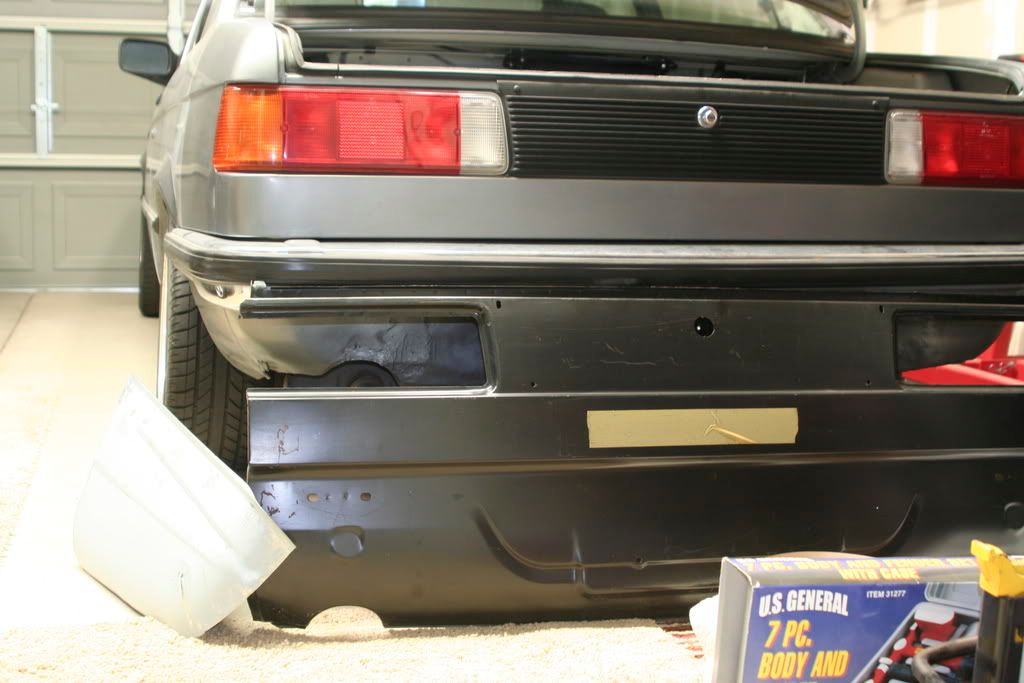
The only down side I see is that the drivers side rear fender has an "oil can" dent in the back. This sucks, because they're usually really hard to get out. I'm going to try shrinking the panel a little bit to get rid of it. But I think the hard part is almost over. Just a few more choice cuts on the passenger side, then it's time to smooth everything.
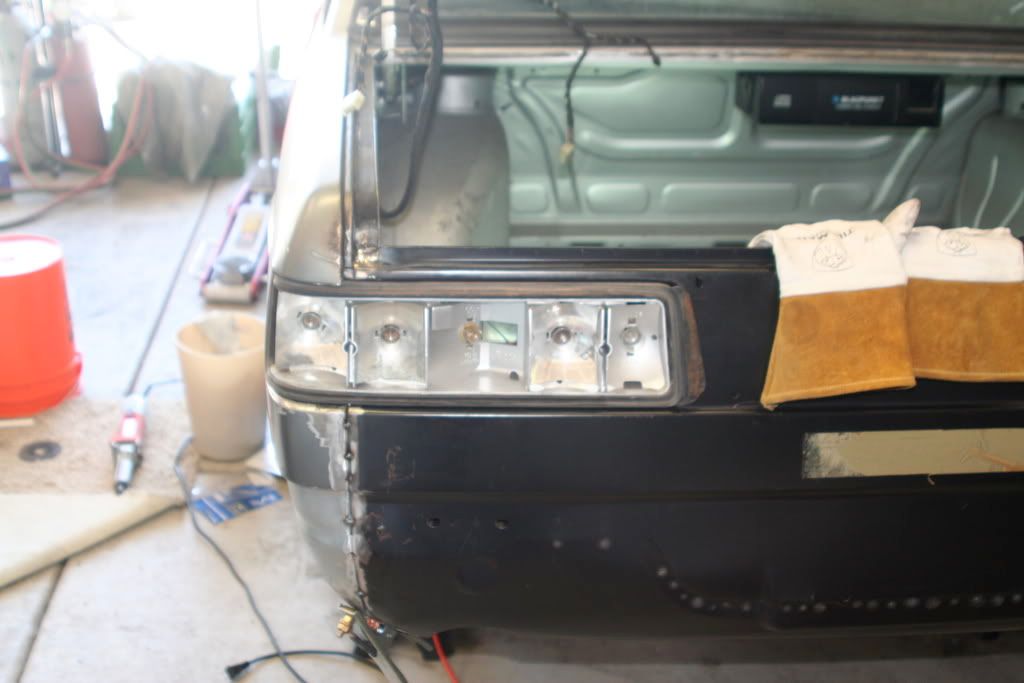
Whew! The taillight still fits!!
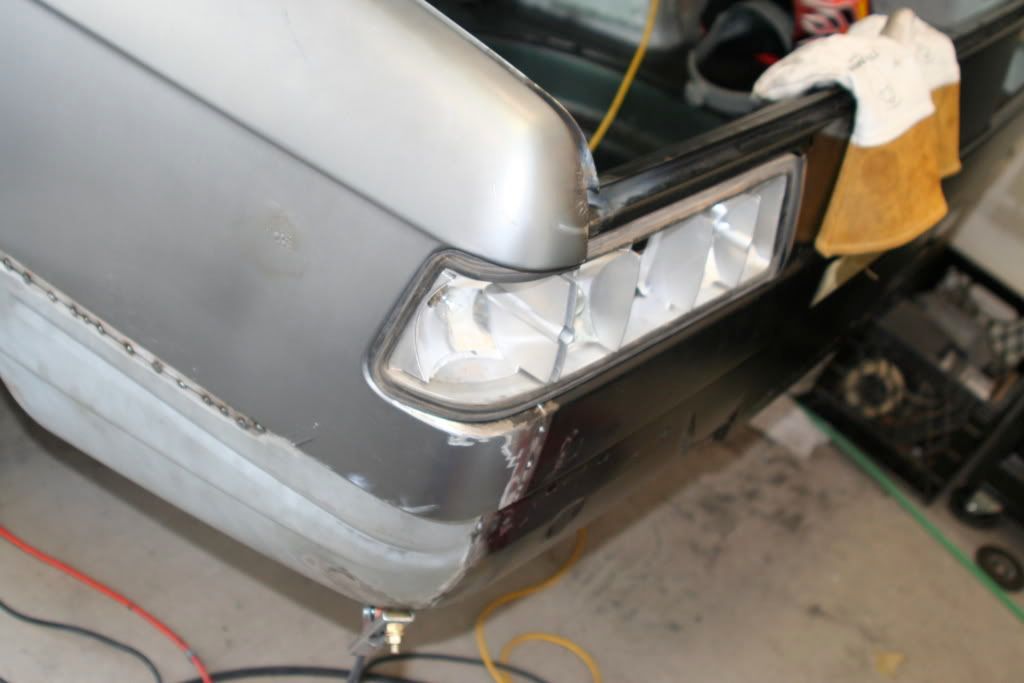
You can see the oilcan here.
I had a blast cutting, welding and banging on metal in my garage with my dad. He enjoyed making a royal mess in someone else's garage and then having me thank him for it!
Cliff Notes: Although fun... don't ever pull your trunk floor out unless you're serious about investing some time. Also, I only lit my pants on fire once!! |
|
|
| TJ |
Posted
Sunday, Oct 12th 8:28am [Edit] [Quote] [IMS] [View car] |
Member
Post nr. 66
NY, USA
82 528e2i 84 320i/4 80 320i |
Thanks for posting, Nic. What's the purpose of the additional diff mounting point? Just to make things sturdier?
BTW, is this the M42 E21? With the "fuel crisis" going on I've been wondering what kind of mileage those motors get. |
|
|
| M42powered |
Posted
Friday, Oct 17th 10:41pm [Edit] [Quote] [IMS] [View car] |
Staff
Post nr. 759
Arizona, USA
1981 BMW 320i |
I added the diff mount to make it more rigid. I plan on fabricating a mount that is more economical than trying to source an Alpina diff cover.
My odometer doesn't work, but I think the M42 was quoted above 30mpg? |
|
|
| melloh |
Posted
Saturday, Nov 1st 8:16am [Edit] [Quote] [IMS] [View car] |
Member
Post nr. 676

California, USA (San Jose)
1980 320is, 1991 318is |
Even though I cannot understand most of what you posted, I know enough to appreciate not only the work put into your car, but in documenting it. So thank you. Very educational!
As for the m42, I'd hypothesize that your mileage might be better (especially city) than its estimates on the e30 chassis because (AFAIK) the e21 is lighter. Then again, if it were me, my mileage would be worse b/c I don't think I could resist driving it aggressively. Oh wait, I know I can't! That's why I only avg 24-26 mpg on the e30 m42... |
|
|